
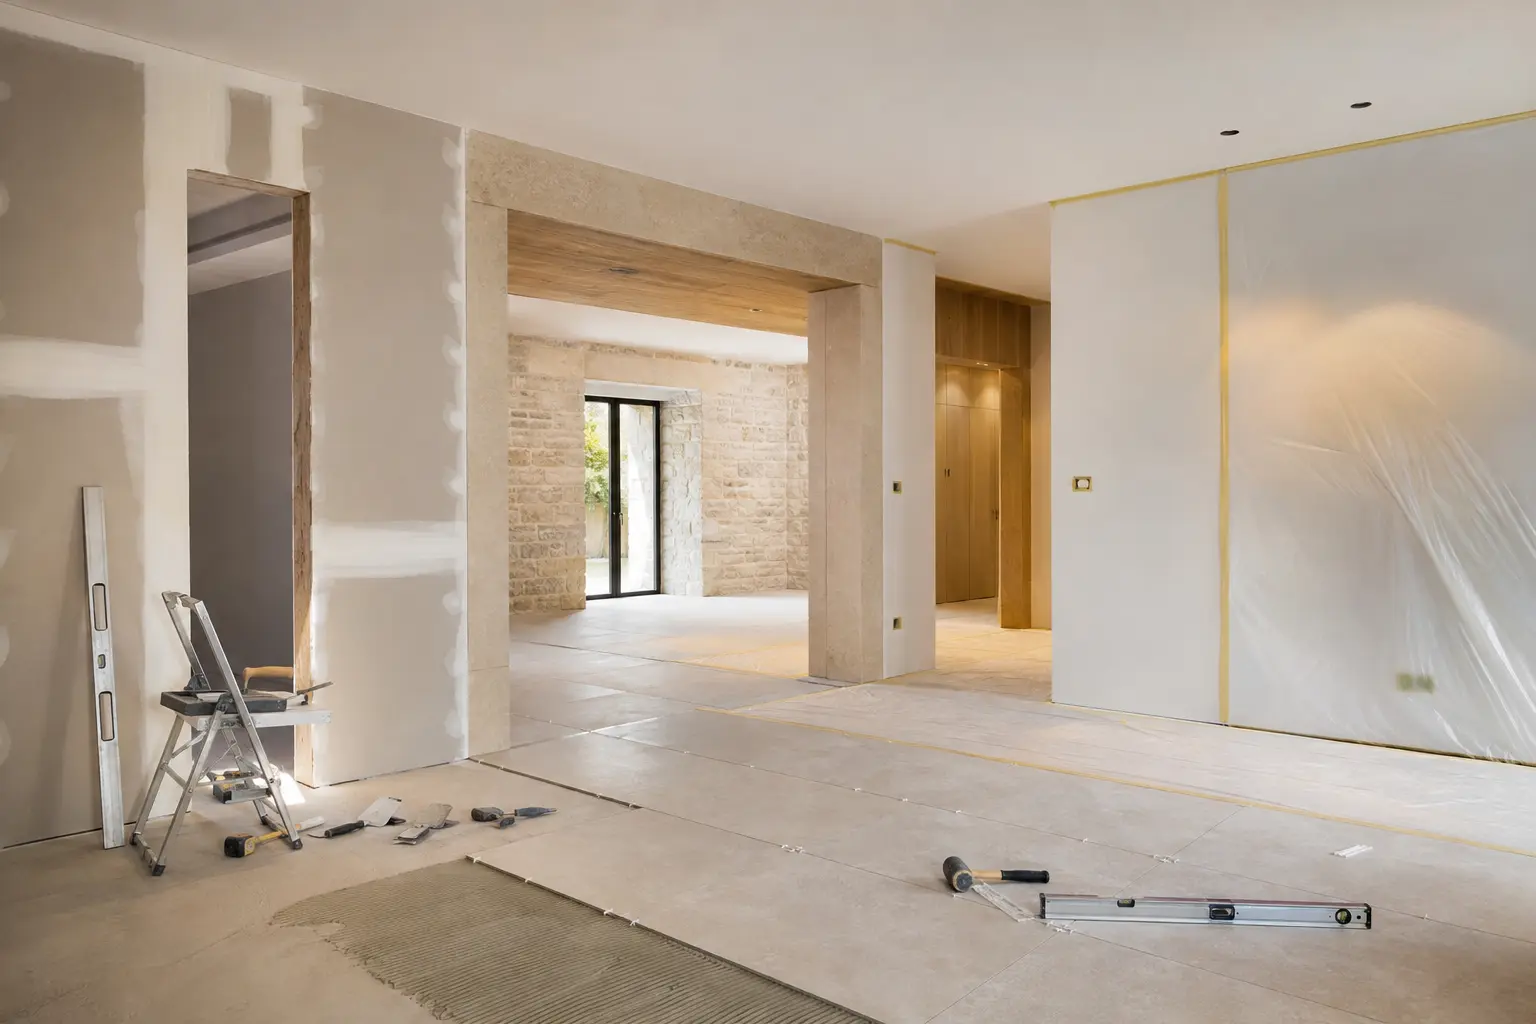
As finishing works begin, a construction site suddenly becomes crowded. Façade installers need clear walls and stable weather; drywall crews need an enclosed, sufficiently dry house; tilers need completed waterproofing and verified falls; and painters need clean substrates that will not be drilled into later. If the schedule simply follows whichever crew is available first, the apparent acceleration can quickly turn into delays and repairs.
A sound sequence of finishing works is not a rigid checklist that applies to every house. It depends on the construction systems, weather, heating and drying methods, material availability, and whether the façade and interior are being completed in separate zones. The relationships between trades are nevertheless clear: wet layers need time, services must be inspected before they are enclosed, and delicate surfaces must be protected from later work.
In Istria, summer heat, the bora wind, coastal humidity and seasonal logistics all have an additional influence on the schedule. Rather than relying on the calendar, each phase should proceed only once the substrate conditions meet the requirements of the selected system. What follows is a practical plan with control points for façade, drywall, tiling and painting works.
Plan dependencies first, then schedule the crews
Scheduling begins with a list of rooms and layers. For every room, record the final wall, floor and ceiling finish, the services running beneath them, the required inspection and the drying conditions. Apply the same approach outside by coordinating the windows and doors, sills, plinth, gutters, penetrations, external services and façade system.
The critical path consists of the tasks without which the next crew cannot begin. For example, services inside a partition wall must be completed and inspected before the second side is closed with boards. In a bathroom, the substrate, falls, drain and waterproofing must precede the tiles. Final painting should not be completed before all dusty cutting and most installation work are finished.
Other works can proceed in parallel in separate zones. The façade can be installed while part of the interior advances, provided that the building is enclosed, penetrations and external details are coordinated, and the crews do not share the same critical access route. Parallel working is not an end in itself: it is worthwhile only if it does not introduce dust, moisture, vibration or logistical conflicts into a completed zone.
- Create a matrix of rooms, substrates and final finishes.
- Identify the inspection that must take place before each layer is enclosed.
- Separate the critical path from work that can proceed in another zone.
- Confirm material lead times before scheduling contractors.
Control point 1: the building is enclosed, services are coordinated and substrates are ready
Before sensitive interior work begins, the roof and external windows and doors should protect the space from direct water ingress. First-fix services must be coordinated with the bathroom, kitchen, lighting, heating and ventilation drawings. Any late change to the position of a socket, mixer tap or drain can mean opening up finished drywall or tiles.
Wet construction processes such as plastering and screeding introduce a significant amount of moisture. A surface merely looking dry is not enough. Before installing moisture-sensitive finishes, assess the substrate using a method appropriate to the selected material and follow the manufacturer's requirements. Forced drying without controlled ventilation can create other problems.
During a joint inspection, record flatness, cracks, weak areas, floor levels, thresholds, falls and penetrations. Assign responsibility for substrate repairs immediately. If a tiler or painter starts work on a substrate that has not been formally accepted, it becomes difficult to distinguish an existing defect from a fault in the finish later.
Photograph the services with a measuring reference before they are concealed by drywall, plaster or another finish. This simple record makes future drilling and maintenance much easier.

Façade: resolve penetrations and details before the finish coat
Façade work begins by inspecting the substrate to ensure it is sound, clean and suitably prepared. Before the insulation is bonded, coordinate the positions of outdoor units, lighting, cameras, railings, awnings, gutters and all brackets. Penetrating a completed system later increases the risk of water ingress and thermal bridging.
A typical sequence for an external thermal insulation composite system includes preparation, the plinth and starter profiles, installation of insulation boards, specified mechanical fixing, treatment of openings and corners, the reinforced base coat with mesh, the prescribed curing period, primer and the finish coat. The exact procedure and interval between coats depend on the specific system, substrate and weather conditions.
External sills, flashings, drip edges and junctions with windows and doors must follow an agreed sequence. Some components are installed before the finish coat, while others require brackets or sealing details to be prepared in advance. The responsible contractors should jointly approve the section detail, rather than each completing only their visible portion without taking responsibility for the junction.
In coastal Istria, sunlight, wind and salt can affect both installation and long-term durability, while inland locations may have a different microclimate. Do not apply coats simply because a crew has been booked. Check the permitted temperature, wind, humidity and scaffold protection against the system documentation and the actual site conditions.
- positions of all external penetrations and brackets confirmed
- plinth, sills, flashings and junctions with windows and doors resolved
- scaffold protected and working conditions within the system's limits
- flatness and reinforced base coat checked before the finish texture
Drywall: inspect services and reinforcements before closing up the assembly
Dry construction begins by setting out partitions, suspended ceilings and linings in accordance with the coordinated drawings. Before closing them, install the specified framing, insulation, services and reinforcements for kitchen units, washbasins, televisions, handrails and other heavy equipment. Door positions and finished floor levels must be known.
Coordination between installers is essential in confined ceiling voids. Ventilation ducts, condensate drains, pipes, cable routes, lighting and access panels must all fit without improvised cutting of structural profiles. Once the services have been inspected, it is useful to photograph them and make closure a formal control point.
The board type and partition build-up depend on the project's moisture, fire, acoustic and load-bearing requirements. Moisture-resistant board is not a substitute for waterproofing where waterproofing is required. Likewise, an extra layer of board will not remedy poorly installed framing or an unplanned load.
Joints, corners and screw heads are finished in the specified stages, allowing time for drying, followed by sanding and an inspection under raking light. Remove sanding dust before applying primer and protect adjacent finished surfaces. Leaving dusty work until after tiling and the first paint coats increases both cleaning and remedial work.
Before boarding the second side, sign off the services, insulation, reinforcements and access panels. Once the assembly is closed, every omitted item means demolition.
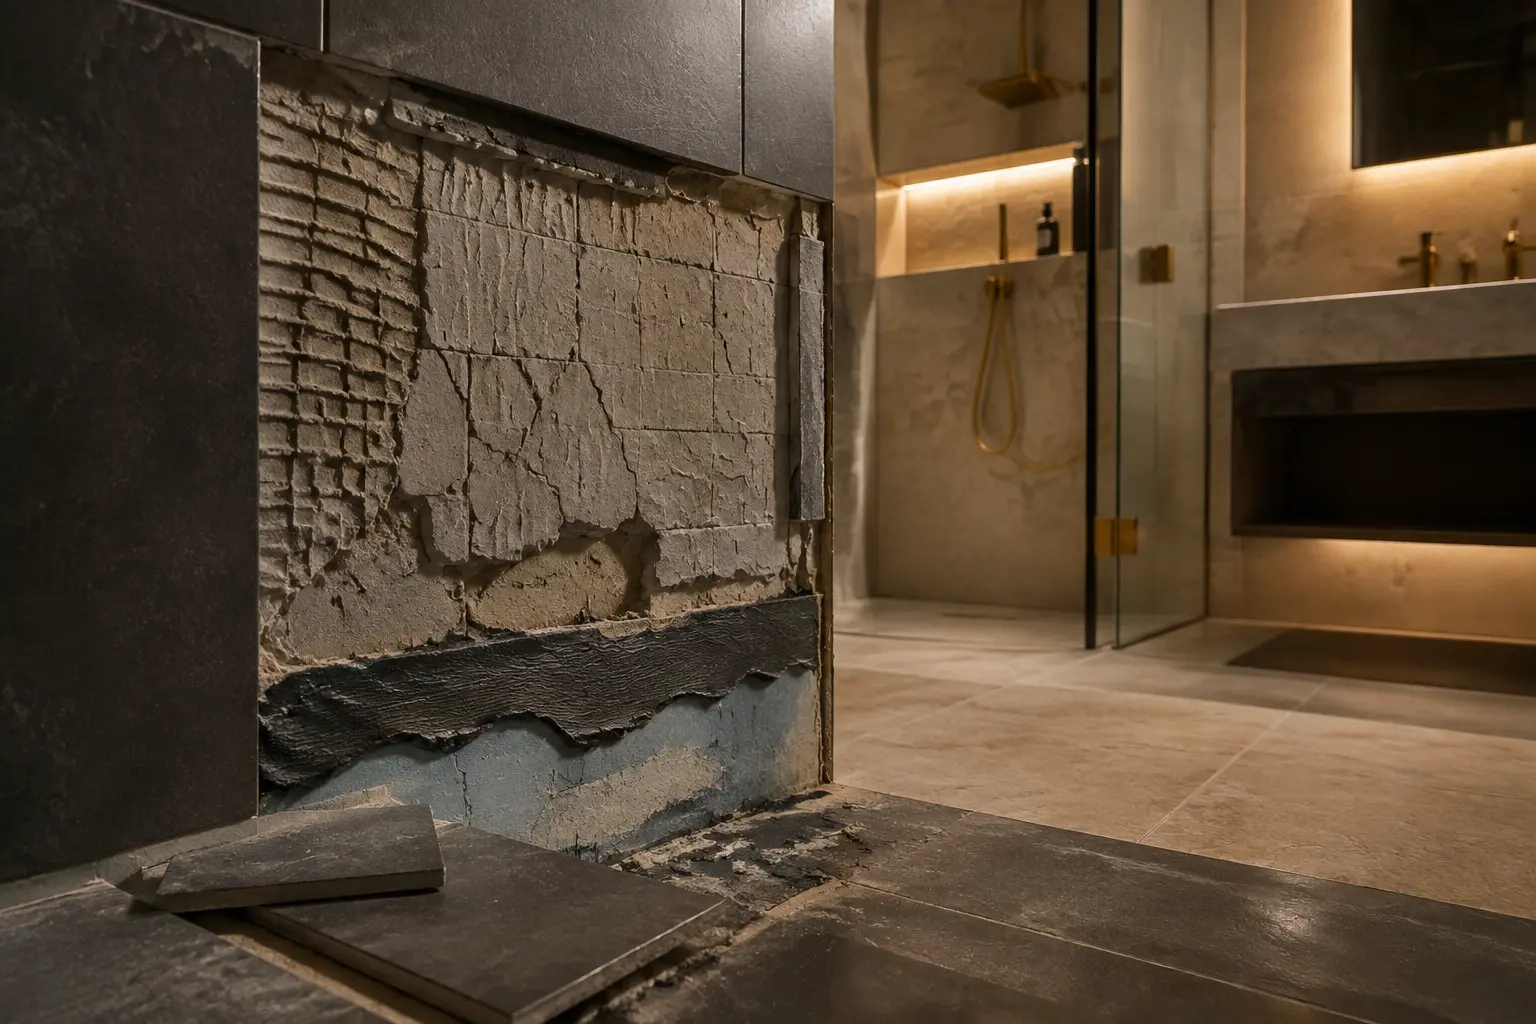
Tiling: substrate, waterproofing and tile layout come before adhesive
Tiling begins with measurement, not with opening a bag of adhesive. Check dimensions, flatness, levels, falls, the positions of drains, thresholds and sanitaryware, and the finishing profiles. The tile layout should show cuts, centre lines, joints, transitions between rooms and the relationship to niches and built-in elements in advance.
In wet rooms, the sequence continues with substrate preparation, sealing critical junctions and penetrations, and applying the waterproofing system in accordance with the design and the manufacturer's instructions. Inspection before covering is particularly important because the completed tiles conceal the layer that protects the structure. Any testing should be carried out where specified and in a manner suitable for the system.
The order of wall and floor tiling may vary according to tile format, junction details and the organisation of the space. The essential requirements are to protect the installed waterproofing, maintain the designed falls, and avoid foot traffic or loading before the necessary curing period has elapsed. Large-format tiles require different preparation and handling from standard sizes, and this must be understood before the price and programme are prepared.
Once the tiles are fixed, grouting, flexible joints in the specified locations, cleaning and surface protection follow. Sanitaryware and glass screens should be installed only when the substrate and joints are ready, with the service zones beneath the finish clearly identified. Every hole must be planned so that it does not damage a pipe or compromise the continuity of a waterproofing detail.
- approved tile layout showing cuts and levels
- substrate flatness accepted and falls confirmed
- waterproofing documented before it is covered
- profiles, drains, sanitaryware and glass screens coordinated
- finished tiles protected until all other work is complete
Divide painting into preparation, main coats and final touch-ups
Painting and decorating require a sufficiently dry, sound and clean substrate. Begin by inspecting the plaster and drywall, repairing defects, finishing joints, sanding and removing dust. The primer and finish paint must be compatible with the substrate and with each other, and the time between coats must be adjusted to the conditions.
It is often practical to complete the main painting work before delicate floor finishes and final installations, while surfaces remain unobstructed and protection is simpler. However, it makes sense to leave minor corrections and the final coat in critical areas until after the doors, skirting boards, switches and fitted furniture have been installed. The precise approach depends on the finish and how effectively it can be protected.
Tiles, windows and doors, profiles and equipment should be masked with suitable materials that neither leave marks nor trap moisture. Protection is not a one-off task: inspect it after every scaffold movement or equipment delivery. The cost of high-quality protection is generally lower than regrouting, repainting or removing dried paint splashes.

Organise parallel work by zone, not by trades that conflict
A large house may allow drywall installers to work on one floor while tilers prepare another, but only if access, storage and waste routes are separated. Wet cutting, sanding, carrying boards and transporting adhesive should not pass through a room with finished paintwork or an unprotected floor.
Every zone should have a status: not ready, ready for contractor, work in progress, awaiting drying, ready for inspection, or handed over and protected. The site manager should change its status only after an inspection. A simple board listing the rooms will often prevent the next crew from entering a day too early and negating the benefit of parallel scheduling.
Work may begin in a zone only once the previous crew has handed over the substrate, the next crew has inspected it, and responsibility for protection has been clearly accepted.
In Istria, adapt the programme to the microclimate and seasonal logistics
Façade work and exterior painting are sensitive to sunlight, wind, precipitation and substrate temperature. In Rovinj, Poreč and Umag, a building may be exposed to sea air and intense sun, while locations around Buje have their own microclimatic conditions. The system instructions and measurements taken on the façade itself matter more than a general city forecast.
In summer, an external surface can become hotter than the air, while a sudden bora can make scaffold work unsafe and dry individual coats too quickly. In winter or after rain, the substrate may retain moisture. Protective netting, working on shaded elevations and rescheduling may form part of the plan, but only within the conditions permitted by the selected product.
The tourist season can increase traffic and make deliveries more difficult in some areas. Check current local access arrangements and book cranes, skips and large deliveries in good time. Interior work can then take over part of the critical path, provided that the building is enclosed and ventilated in a controlled manner.
- monitor substrate conditions, not just the weather forecast
- plan shading, scaffold protection and safe working in windy conditions
- check local access for large deliveries and waste removal
- keep an interior zone ready as a sensible alternative to external work
Final checklist: five decisions before each crew starts
First, confirm the substrate: is it complete, sufficiently dry, flat and clean for the selected system? Second, confirm the documents: the latest drawing, sample, colour, format, laying direction and technical instructions. Third, inspect and record concealed work before it is closed up.
Fourth, agree the logistics and protection measures: where materials will be delivered, where cutting will take place, who will remove waste, which route the crew will use, and who will protect the finished surface after handover. Fifth, define the acceptance criteria, how quantities will be measured and the change-control procedure. These decisions must be made before the work progresses or materials are installed to the point where changes become irreversible.
Track the budget by contracted item, approved change and remedial cost. If remedial work was caused by a substrate that was not ready, a late drawing or damage by another crew, record the cause, not just the invoice. This allows the process to be corrected in the next room rather than repeating the same mistake throughout the house.
- substrate inspected and accepted in writing
- material, sample and installation detail approved
- concealed services and layers inspected
- access, storage, waste and protection responsibilities assigned
- quantities, acceptance criteria and changes agreed in advance
The fastest crew is not the one that enters the room first, but the one that can complete the work without returning because its own preparation—or someone else's—was unfinished.

Conclusion
A sound decision is made before the first day on site.
An efficient sequence of finishing works follows the condition of the substrate, not merely the calendar. The building is enclosed and dried; services are inspected before drywall is closed up; waterproofing is checked before tiling; façade details are resolved before the finish coat; and final painting and touch-ups follow dusty work and most installations. Independent zones can progress in parallel when they are clearly protected.
For every phase, define the entry condition, the inspection before enclosure, the acceptance criteria and the person responsible for protection. Such a schedule cannot eliminate drying times or poor weather in Istria, but it can prevent the same wall, floor or façade detail from being paid for and completed twice.
Send your project for reviewFrequently asked questions
Answers to have before construction begins.
Should the façade be completed before or after the interior finishes?+
The work can proceed in parallel if the building, penetrations, windows and doors, and logistics are ready, and the exterior work does not put the interior at risk. There is no need to wait for the entire interior to be completed, but the junctions and façade system conditions must be resolved before the finish coat is applied.
When can the second side of a drywall assembly be closed?+
After the specified services, insulation, reinforcements and access panels have been installed and inspected. Creating a photographic record is useful. The precise build-up and inspection requirements depend on the design and the requirements of the selected partition or ceiling.
Should painting take place before or after tiling?+
Preparation and some painting can precede tiling in other zones, but the sequence within the same room depends on the details and protection measures. Tiling requires a completed substrate and waterproofing, while final painting touch-ups are most practical after dusty work and installations are complete.
How can you tell whether a screed is dry enough for the next layer?+
Appearance is not a reliable indicator. Moisture must be tested using a method appropriate to the screed and final finish, in accordance with the system manufacturer's requirements. The necessary conditions vary with the material, thickness, space and drying method.
What is the most common cause of delays to finishing works?+
Delays are often caused not by a slow crew, but by a substrate that is not ready, late decisions about materials, uncoordinated services or insufficient drying time. A plan with control points and zone statuses reveals missing prerequisites early.