
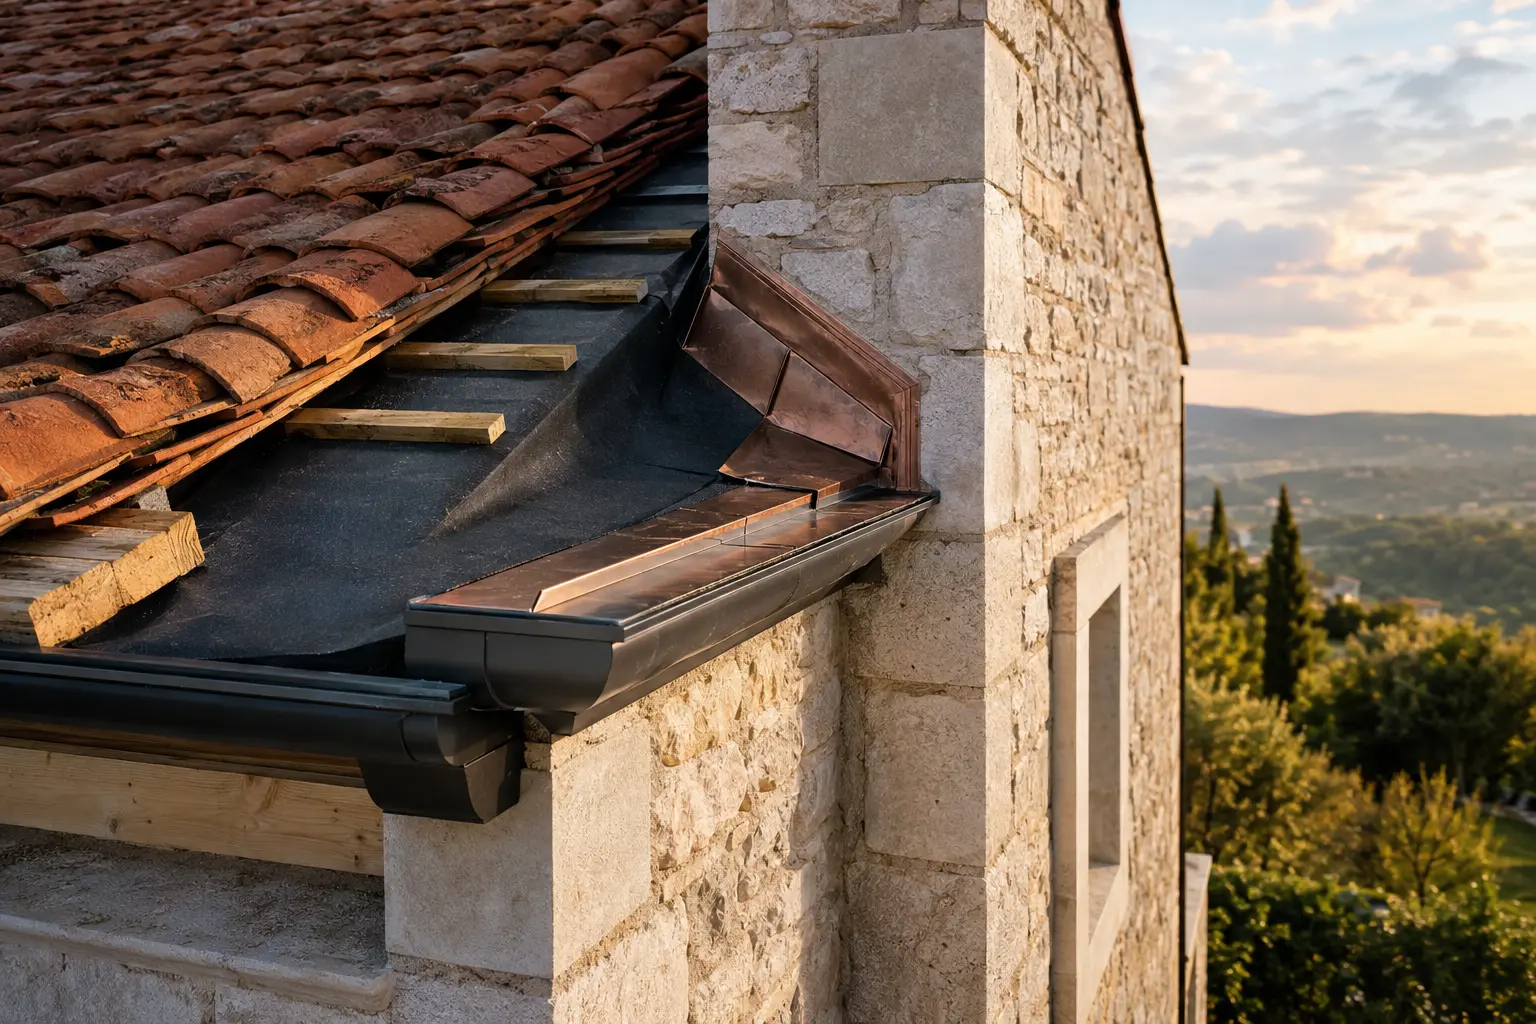
The roof is a house's first line of defence against rain, wind, and sun, but its quality cannot be judged solely by the appearance of the tiles or metal covering. Beneath the final covering lies a series of interconnected layers. If even one critical junction lacks continuity, water or moisture-laden air can enter the build-up and remain unnoticed for a long time.
When constructing a roof in Istria, decisions must reflect the location. A coastal house may face salt spray and strong gusts. A property on an exposed site near Buje may experience a different pattern of driving rain, while a densely built plot in Rovinj, Poreč, or Umag may restrict access and maintenance options. There is no single detail suitable for every roof, but one rule is universal: every layer must have a clear function and a reliable connection to the next.
The following are twelve areas where saving money most often proves to be a false economy. This does not automatically mean choosing the most expensive product. It means not removing a designed layer, not replacing a compatible system with a random combination, and not skipping the inspection of details before the roof covering conceals them.
Areas 1 and 2: Designed Details and the Load-Bearing Structure
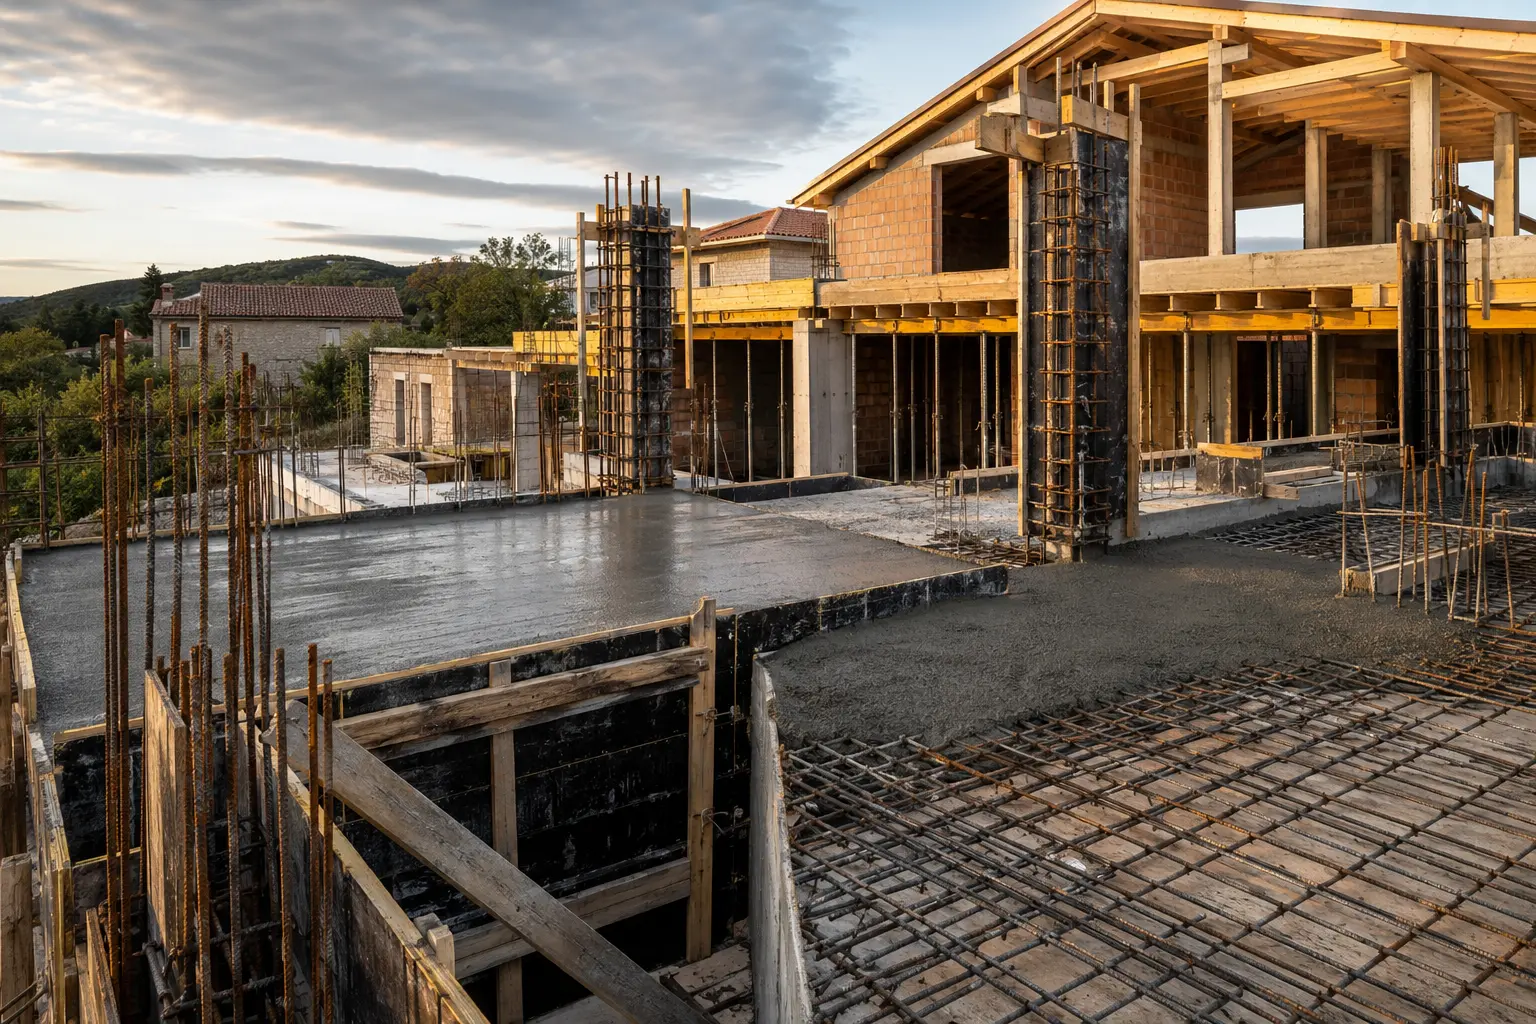
The first area in which costs should not be cut is the detailed development of the roof before construction. Pitch, spans, the type of covering, the position of openings, drainage, and wind exposure are all interdependent. Replacing a heavy covering with a lighter one—or vice versa—adding photovoltaic panels, or relocating a roof window are not merely aesthetic decisions. They can affect the structure, fixings, water flow, and maintenance.
The design should clearly show critical sections, and the contractor must be able to translate those details into real dimensions on site. Valleys, changes in roof plane, junctions with vertical walls, and areas where greater volumes of water converge are particularly important. A simple roof generally has fewer high-risk transitions, but its edges and penetrations still require correct detailing.
The second area is the load-bearing structure and its connections. The quality of the timber or other structural material, member dimensions, bearings, and connections must correspond to the design. Improvised notching to accommodate a service, unplanned drilling, or substituting a connector can create a problem that the roof covering then hides completely.
Before subsequent layers are installed, inspect the geometry, stability, connections, bearings, and material protection. Timber should not be judged solely by whether it looks dry; important decisions require appropriate measurements and professional assessment. Any structural alteration should be approved through the proper technical process, not agreed casually while work is under way on the roof.
- Coordinate chimneys, roof windows, ventilation, aerials, and panels before construction begins.
- Do not cut or drill load-bearing members without a verified solution.
- Photograph every structural connection before it is covered.
Areas 3 and 4: Secondary Water Protection and the Ventilation Layer
The third area is the roofing membrane: the secondary layer that receives water or snow driven beneath the roof covering and directs it towards the eaves. Its value lies in more than the product specification. Correct installation, lap direction, penetration detailing, junctions with walls, and protection from damage during foot traffic and batten installation are decisive.
A membrane punctured by a fastener in the wrong place, or left with an open joint, can leak precisely when the primary covering is under the greatest pressure from wind-driven rain. Before the battens are fitted, inspect the entire surface from below and above wherever it is safe to do so, and photograph chimneys, valleys, and lower terminations in particular. Water on the membrane must have an unobstructed route to the intended discharge point, with no pockets or reverse laps.
The fourth area is the ventilation layer. In systems designed with one, air must be able to enter at the eaves, travel beneath the covering, and exit at the ridge or other designed openings. An interrupted channel, compressed insulation, mortar, or mesh blocking the inlet reduces drying capacity and increases summer heat loads.
Ventilation is not a randomly positioned opening. Inlets and outlets should be protected from insects and water ingress, while the cross-section must remain clear along the full roof plane. On roofs with numerous windows, chimneys, and changes in geometry, check how air moves around each obstruction. The solution depends on both roof geometry and system design, so it should be resolved before the covering is installed.
The roof covering stops most precipitation; properly connected secondary protection manages whatever still reaches the space beneath it.
Areas 5 and 6: Sheet-Metal Junctions and Every Roof Penetration
The fifth area comprises sheet-metal details at valleys, edges, wall abutments, and around chimneys. Metal expands and contracts with temperature, so lengths, joints, and fixings must accommodate the anticipated movement. Material that is too thin or unsuitable, an inadequate side upstand, and reliance on sealant rather than the geometry of the detail are common sources of later leaks.
In coastal areas, the choice of materials and fasteners should reflect salt exposure and metal compatibility. Contact between incompatible metals in the presence of moisture can accelerate deterioration. It is not enough for new metalwork to look immaculate on installation day; drainage, freedom of movement, and the durability of every joint are what matter.
The sixth area is every penetration: a chimney, vent, aerial bracket, panel mount, pipe, or roof window. Each interrupts the plane of both the covering and the membrane and therefore requires a solution at several levels. Sealing only the visible upper edge with silicone is often temporary because water also approaches from the sides and materials move in the sun.
Penetrations should be inspected before and after the roof covering is installed. Check the lower membrane connection, upper flashing, lateral water management, necessary clearances from other elements, and future inspectability. Coordination should reduce the number of penetrations, but they must not be combined through improvisation where systems require different clearances or safety conditions.
- For every penetration, request a detail that resolves both the membrane and the final roof covering.
- Inspect metalwork after any other trades have subsequently worked on the roof.
- Do not accept sealant as the sole line of defence in an area subject to constant water exposure.
Areas 7 and 8: Drainage, Eaves, Verges, and Ridge
The seventh area is the gutter and downpipe system. Its purpose does not end with collecting water at the roof edge; that water must be conveyed to a safe, maintainable discharge point. Incorrect falls, too few outlets, weak brackets, or a discharge that terminates beside the foundation create problems even when the roof plane itself does not leak.
Drainage capacity should be determined by the roof and the design conditions, not by whichever profile happens to be in stock. On properties surrounded by pines or other vegetation, access for cleaning must be planned. A concealed gutter can be architecturally elegant, but it requires particularly robust waterproofing, an emergency overflow, and a means of inspection.
The eighth area covers the roof edges: eaves, verges, and ridge. Here, wind tries to lift the covering, rain arrives from different angles, and small animals can find an unprotected opening. Finishing pieces, ventilation strips, and fixings must form part of the selected system and be installed without obstructing the required airflow.
In exposed parts of Istria in particular, relying on the weight of roof tiles is not enough. The fixing method is determined by the design, the roof covering, the geometry, and the building's location. A visual inspection from ground level after a storm may reveal displaced elements, but going onto the roof should be left to someone with the right equipment and safe access.
Water needs one uninterrupted route: from the roof covering into the gutter, through the downpipe, and away from vulnerable parts of the building.
Areas 9 and 10: Thermal Insulation and Control of Air and Vapour Movement
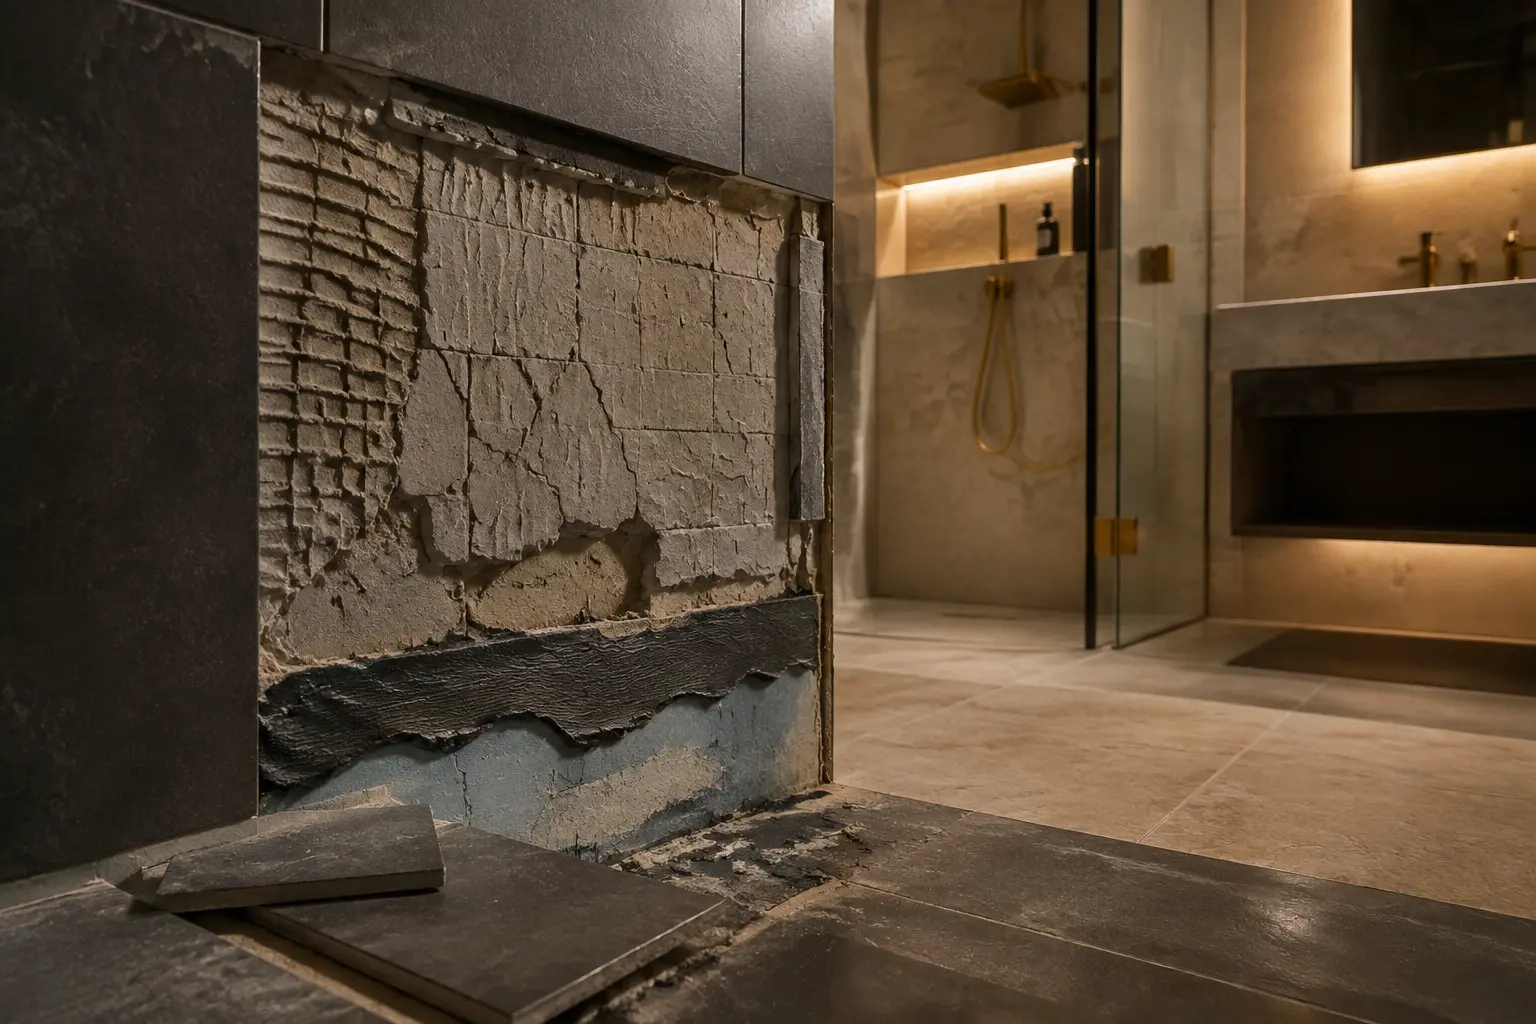
The ninth area is thermal insulation. Cost-cutting often hides in discontinuities, reduced thickness around rafters and services, or pieces that do not fit closely against adjacent material. A small gap repeated along the full length of a roof can create cold or overheated zones. The product's declared thickness is of little benefit if the layer is not continuous.
Inspect the insulation before the internal lining is installed. Pay particular attention to the roof-to-wall junction, the area beside the ring beam or slab edge, roof windows, chimneys, and points where services pass through the pitched roof. The material must remain dry and be installed under the conditions specified for the system. If it becomes wet, the cause and its condition should be assessed before a lining conceals it.
The tenth area is the internal layer designed to control air and water-vapour movement, in accordance with the specified roof build-up. Its effectiveness depends on continuous joints, bonding to walls, and sealing around every electrical or mechanical service. One large sheet of membrane with ten untreated penetrations does not form an airtight assembly.
The position and properties of these layers should not be determined by a universal rule found online. The roof build-up must be physically compatible with the climate, the way the space is used, and the rest of the structure. Where airtightness testing is specified, it is useful to carry it out while junctions remain accessible for correction and to interpret the results in the context of the design.
- Inspect insulation under strong raking light, which makes gaps easier to see.
- Identify and seal every penetration through the air-control layer using the system's specified detail.
- Do not close up a wet or suspect assembly before establishing the source of moisture.
Areas 11 and 12: Roof Covering, Fixings, and Safe Maintenance
The eleventh area is the final roof covering together with its compatible accessories and fixings. Tiles, stone slabs, or metal roofing must suit the pitch, substrate, and exposure. Combining a high-quality principal product with unverified edge pieces and arbitrary screws can negate the benefits of the covering itself.
During inspection, check the alignment and support of the elements, cuts beside valleys and penetrations, fastener positions, and the protection of cut or worked edges where required. With metal roofing, swarf left behind after drilling must also be checked, as it can corrode and stain the finished surface. Unnecessary foot traffic and unsuitable points of support should be avoided on any roof.
The twelfth area is maintenance access. A roof is not something to be completed and forgotten. Gutters need cleaning, sealants and flashings require inspection, equipment needs servicing, and movement or damage should be checked after severe weather. If safe access is not considered at design stage, every future intervention becomes more expensive and hazardous.
Access provisions, anchor points, or service walkways should be designed to suit the building's needs and safety requirements. It should also be possible to reach a concealed drain, roof-window motor, or junction beside a solar panel without dismantling a large section of the roof. The cost of poor serviceability is usually felt as soon as the smallest fault occurs.
A roof's durability also depends on whether it can be inspected, cleaned, and repaired without unnecessary dismantling.

How to Organise Roof-Construction Inspections Without Delaying the Work
Roof inspections are best agreed before work begins. Define the stages at which the contractor must call the site supervisor or another responsible professional before proceeding: after the structure, after the membrane and key penetrations, before the insulation is closed up, and upon completion of the roof covering and metalwork. These appointments can be built into the programme when they are known in advance.
Photographic records should capture both the entire roof plane and its details. One image of a neatly installed section of membrane says nothing about the far side of a chimney. Useful photographs identify the roof axis or slope, include a scale at laps, and clearly show the sequence of layers. Keep technical data sheets, manufacturers' instructions, and details of the components actually installed as well.
Before handover, inspect the loft or the inner side of the roof in daylight wherever it is safe and accessible. Look for signs of water, membrane damage, untreated penetrations, and gaps in the insulation. From outside at ground level, check the evenness of the roof planes, terminations, gutters, and outlets. Inspection at height should be carried out by a trained person using appropriate protection.
It is useful to observe the roof during the first spell of heavy rain, without taking the risk of going onto it. Check drainage, gutter overflow, and discharge locations, as well as accessible areas inside. If moisture appears, record the time, wind direction, and exact location. This information helps a specialist distinguish rainwater ingress from condensation or a service leak.
- Inspection 1: geometry, structural connections, and coordinated openings.
- Inspection 2: membrane, laps, valleys, and the lower sections of penetrations.
- Inspection 3: insulation, airtight junctions, and service penetrations.
- Inspection 4: roof covering, flashings, edges, gutters, and safe access.
- Inspection 5: performance in rain and close-out of all recorded defects.

Conclusion
A sound decision is made before the first day on site.
These twelve critical areas show why roof quality cannot be reduced to choosing between tiles and metal. The design, structure, membrane, ventilation, metalwork, penetrations, drainage, edges, insulation, air control, fixings, and maintenance access all work together. A saving that compromises any one of these functions can place the whole building at risk.
When constructing a roof in Istria, begin with a clear section and an assessment of the site's actual exposure, then agree a comparable scope and inspection hold points before layers are covered. This keeps decisions verifiable and allows any deviation to be resolved while it remains accessible. A well-built roof is not a promise that maintenance will never be needed, but a considered system that controls water, manages moisture, and leaves future maintenance within reach.
Send your project for reviewFrequently asked questions
Answers to have before construction begins.
How much does roof construction cost in Istria?+
The price depends on the geometry, structure, type of covering, insulation, number of penetrations, sheet-metal work, site access, and the extent of work needed to remove the old roof. A price per square metre without a defined layer build-up can be misleading. For a meaningful comparison, give every bidder the same design or an equivalent specification and schedule of works.
Which roof covering is best for a property in Istria?+
There is no single best covering for every location. The choice must suit the pitch, structure, exposure to wind and salt, architectural requirements, and maintenance options. Compatible accessories and correctly designed fixings are equally important; a high-quality product with poor detailing does not make a high-quality roof.
Does every pitched roof need ventilation?+
The solution depends on the designed roof build-up. Where a ventilation layer is specified, it must provide a continuous air inlet, path, and outlet, together with protection from water and insects. Openings should not be added or closed at random without checking the building physics of the complete assembly.
How can you tell whether a roof is leaking or retaining moisture?+
Possible signs include stains, odours, changes in timber colour, corrosion, wet insulation, or dripping, but the same symptom may have several causes. Note whether it appears after rain from a particular wind direction or during a cold period. A professional inspection should distinguish rainwater ingress from condensation and a leaking service.
When should a new or refurbished roof be inspected?+
The most important inspections take place before the structure, membrane, insulation, and internal linings are closed up, and again after the covering and drainage are complete. Thereafter, the roof should be observed and maintained periodically according to its materials, exposure, and system instructions, as well as after severe weather or work by other contractors.